The X-Jet

The X-Jet
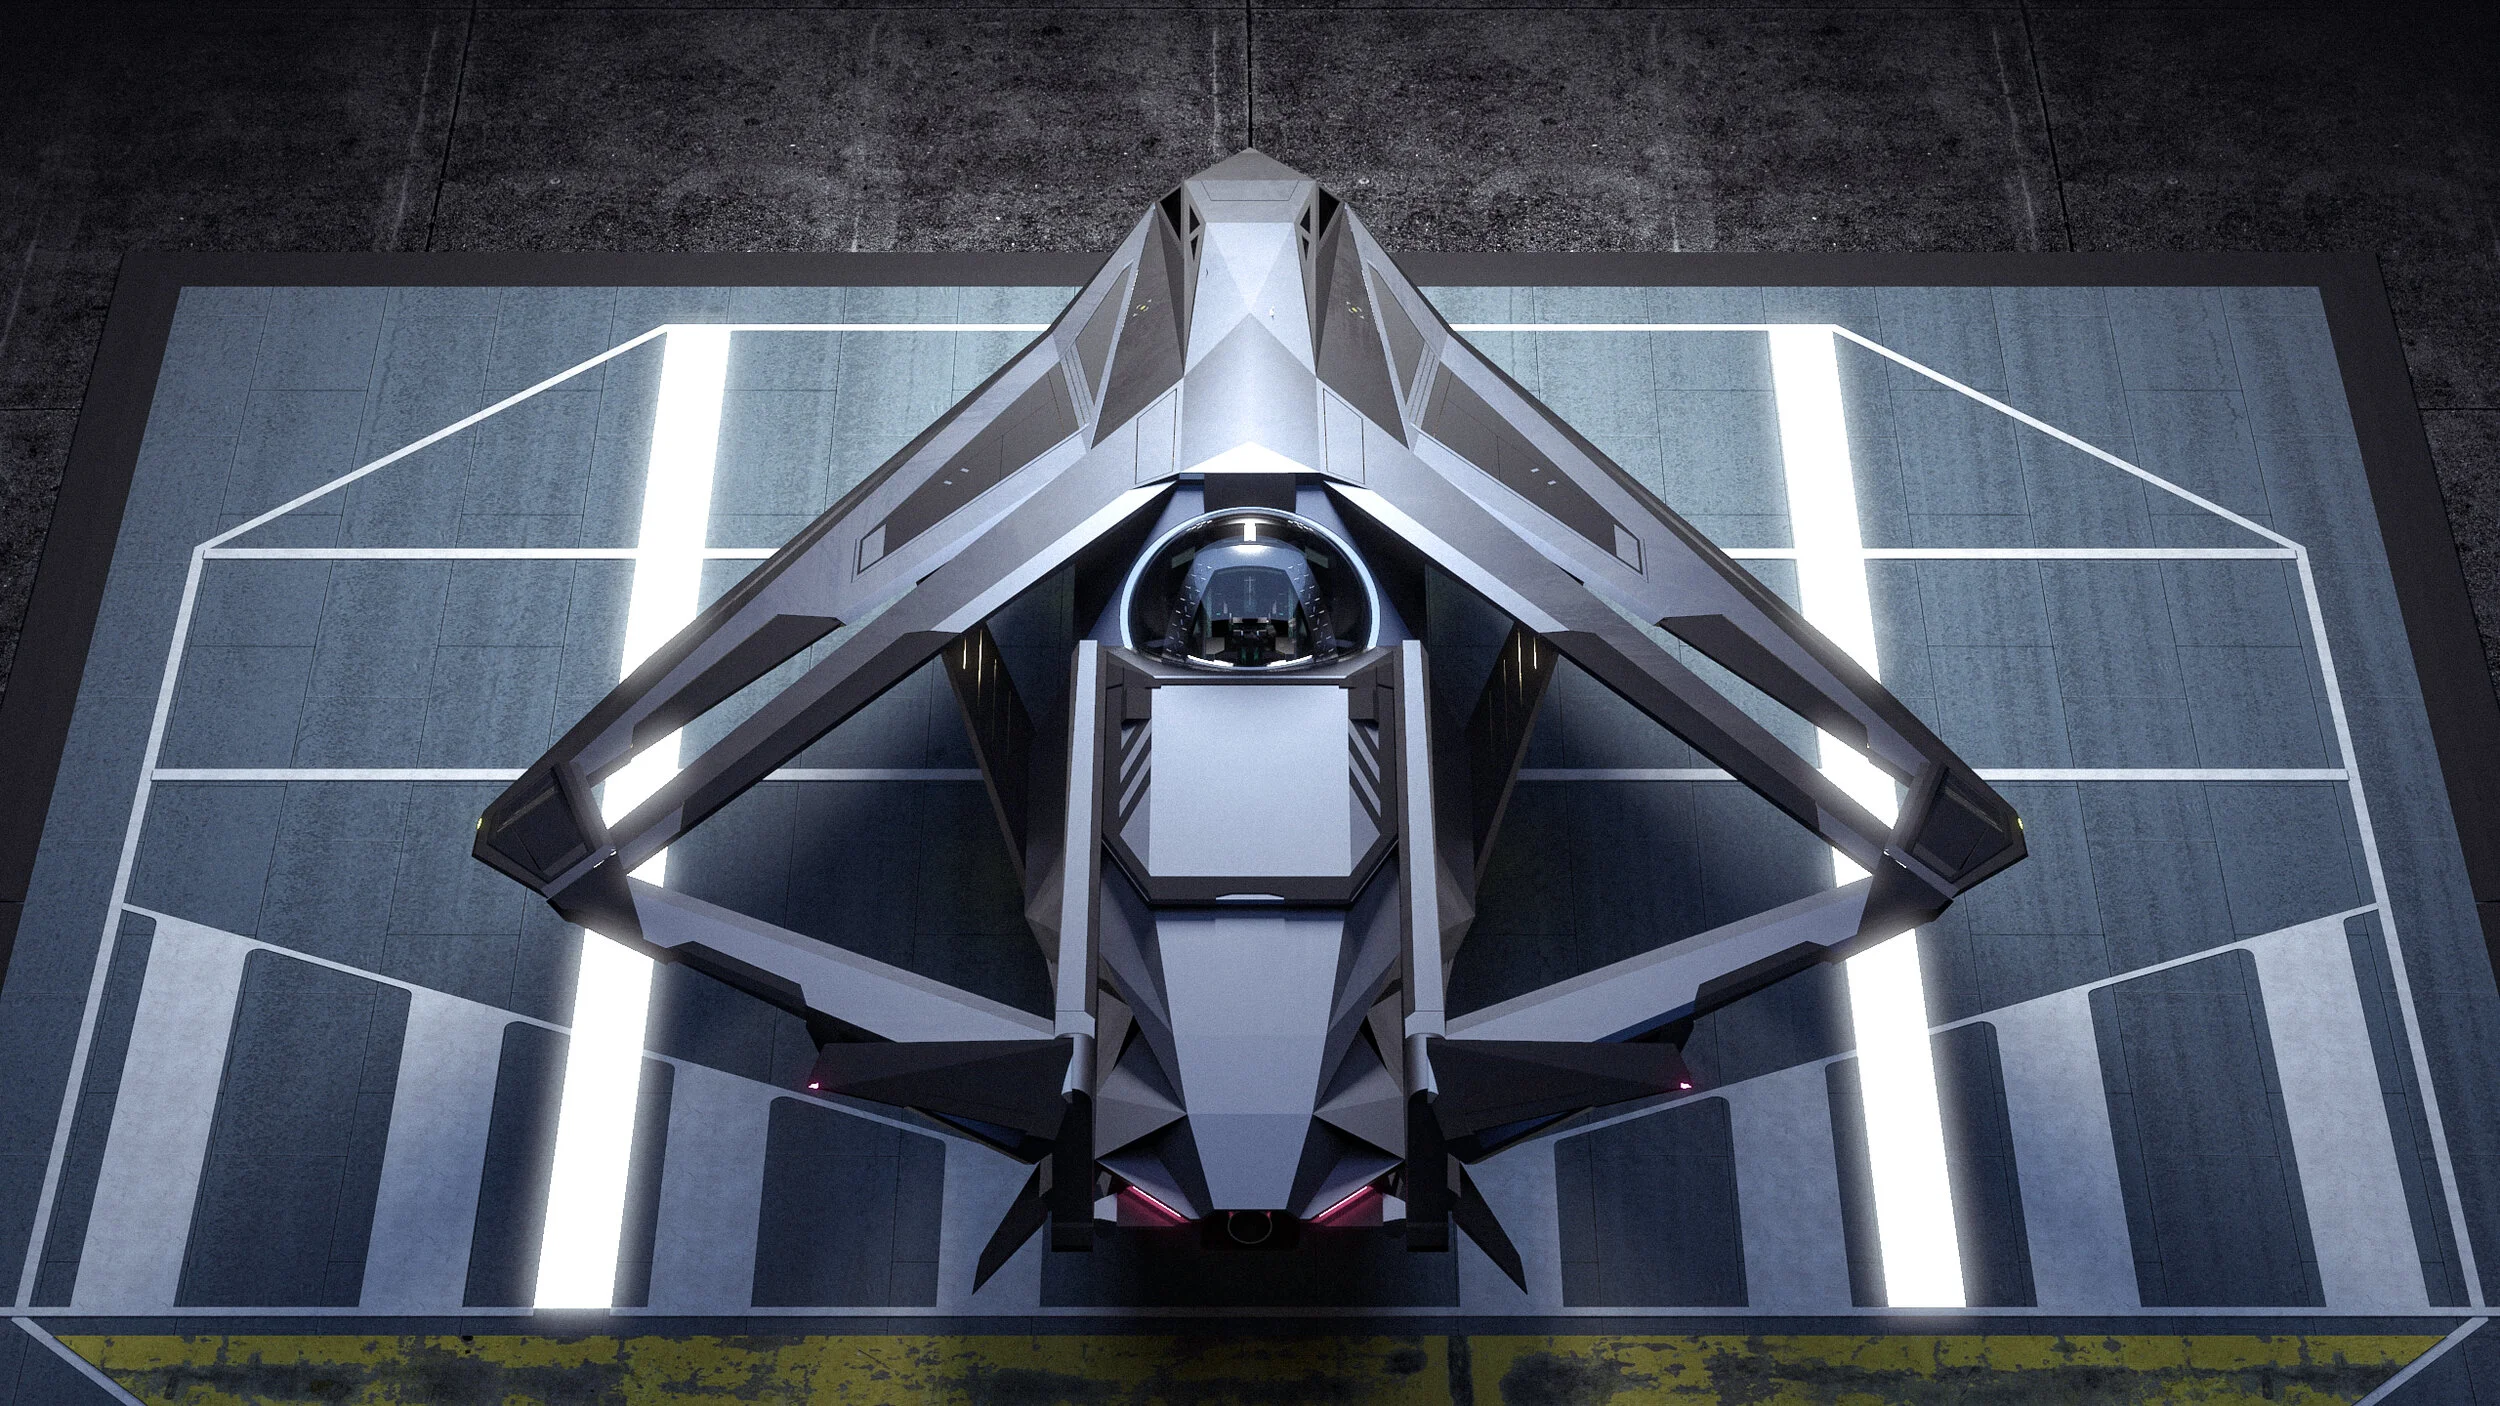
The X-Jet, is the fictitious jet used by the X-Men to traverse the globe. Traditionally in the movies and comics it is based on the design of the SR-71 Blackbird. The goal of this project was to reimagine the X-Jet using a different aircrafts form language to create a design that would serve as my interpretation of how I see the X-Men in the Marvel Cinematic Universe.
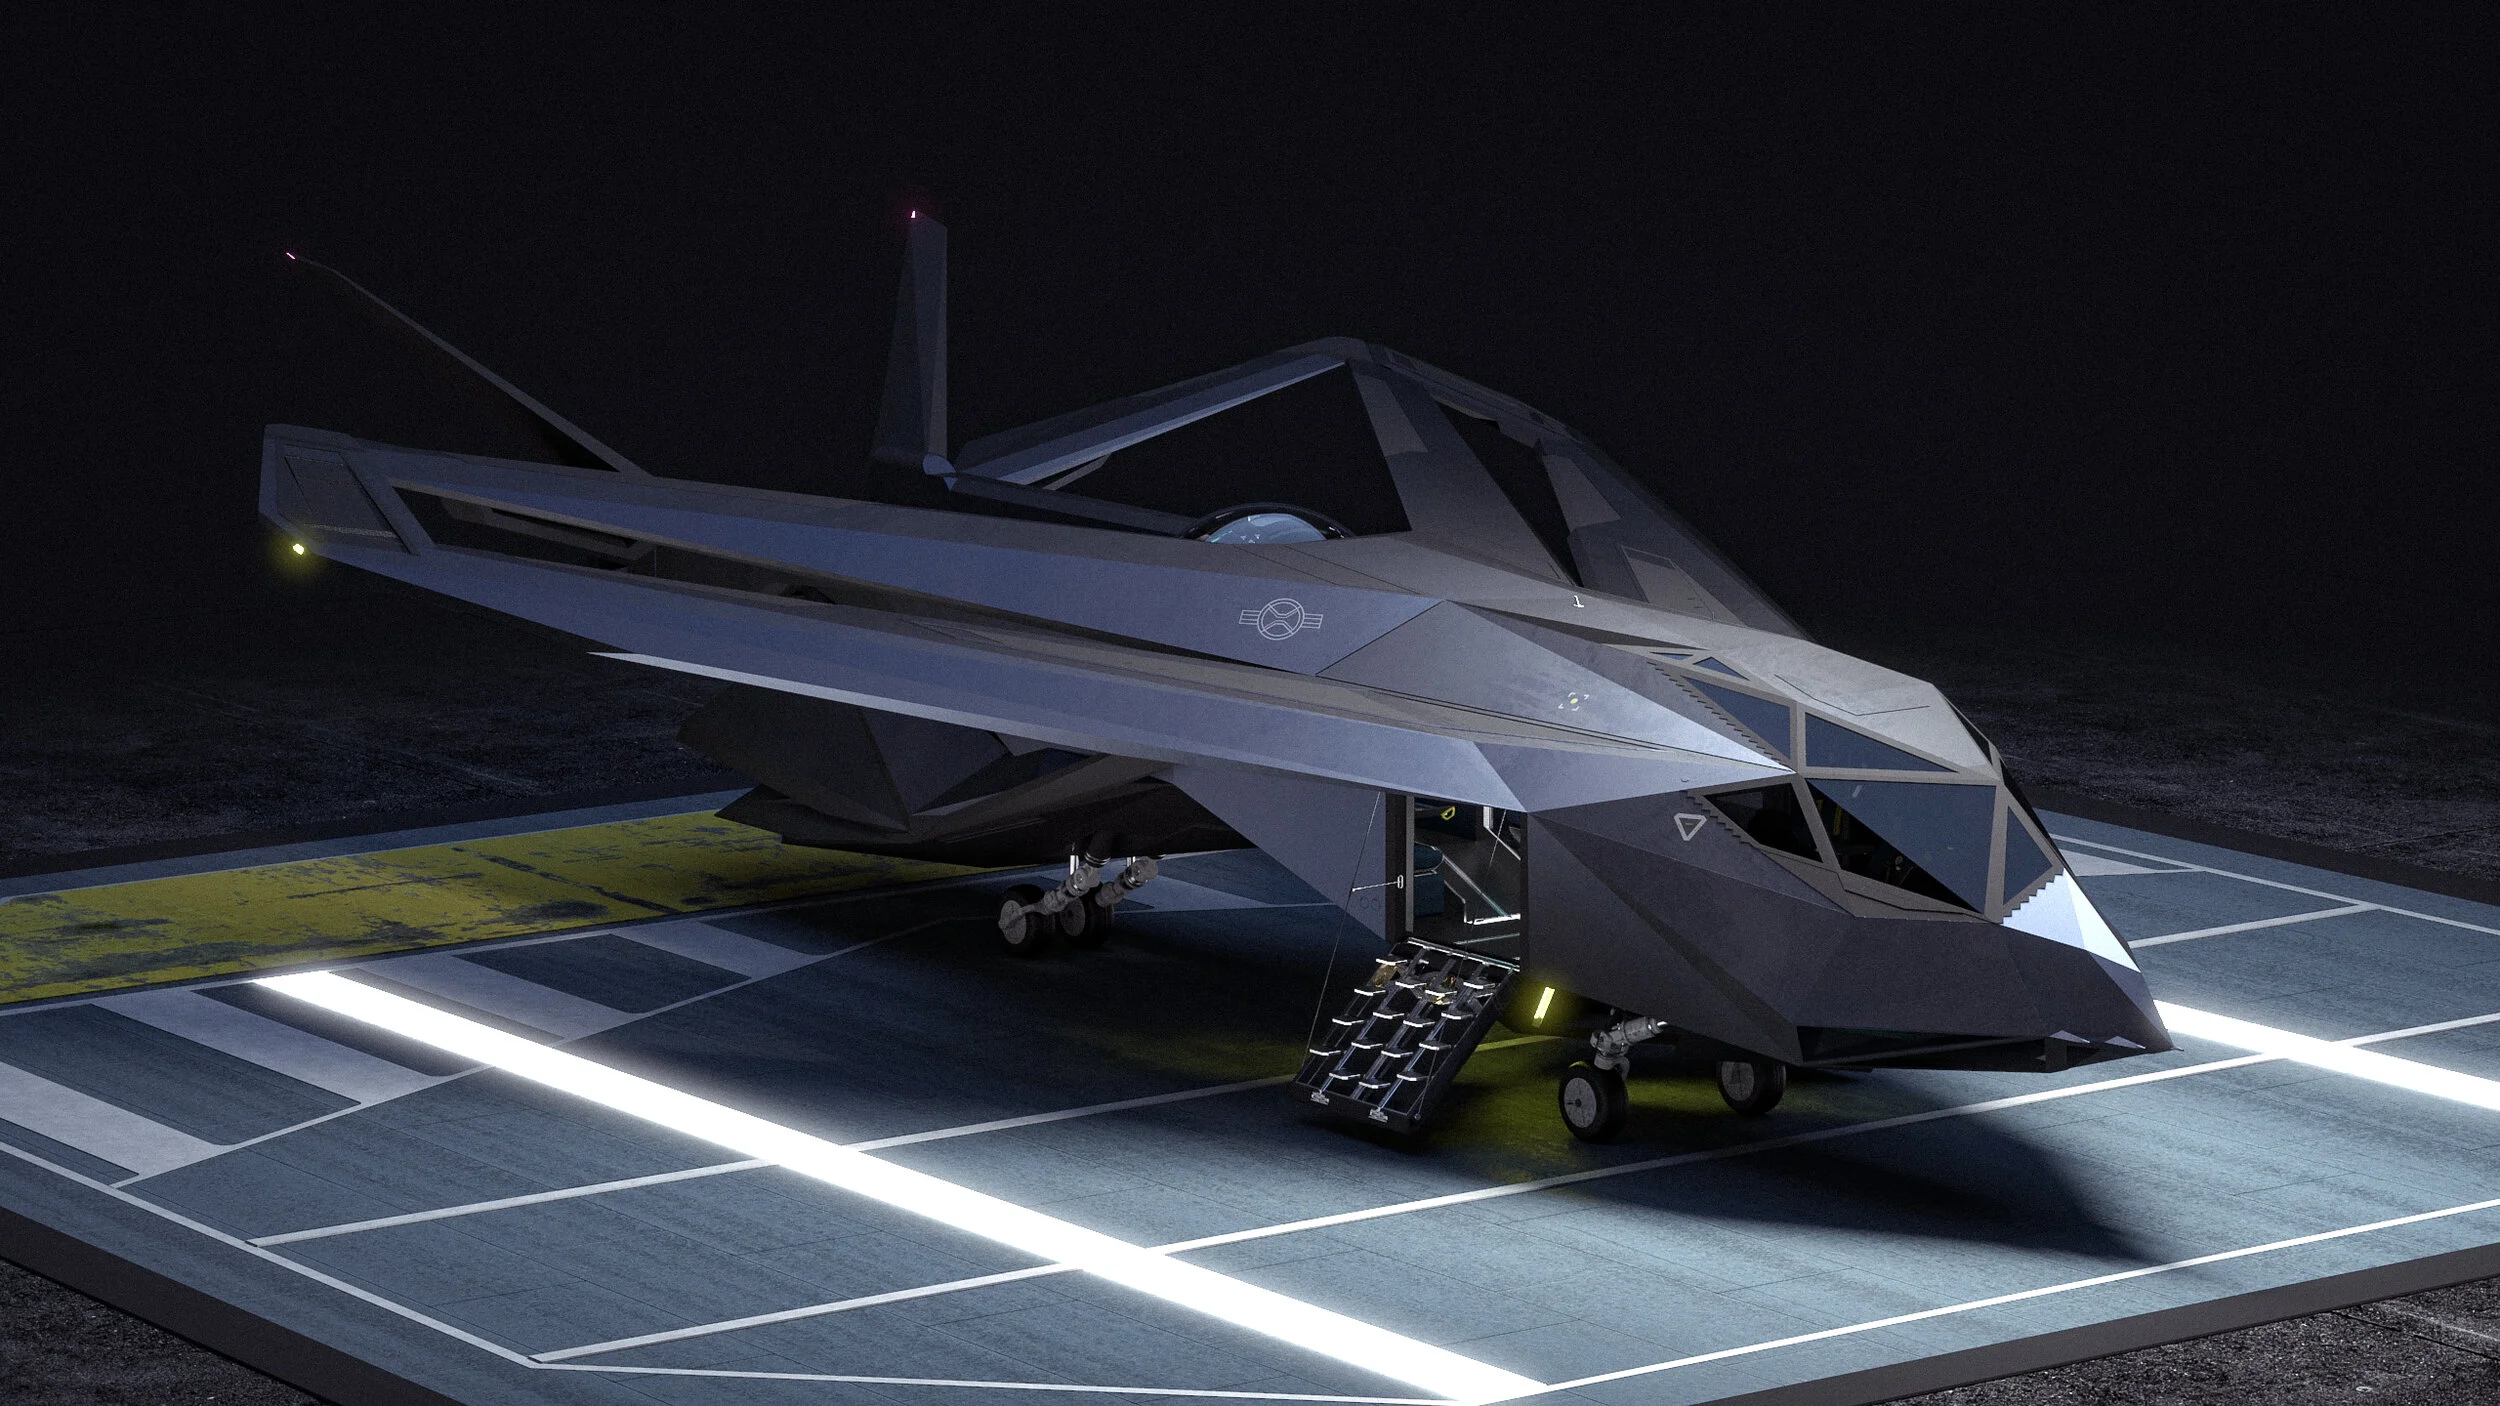
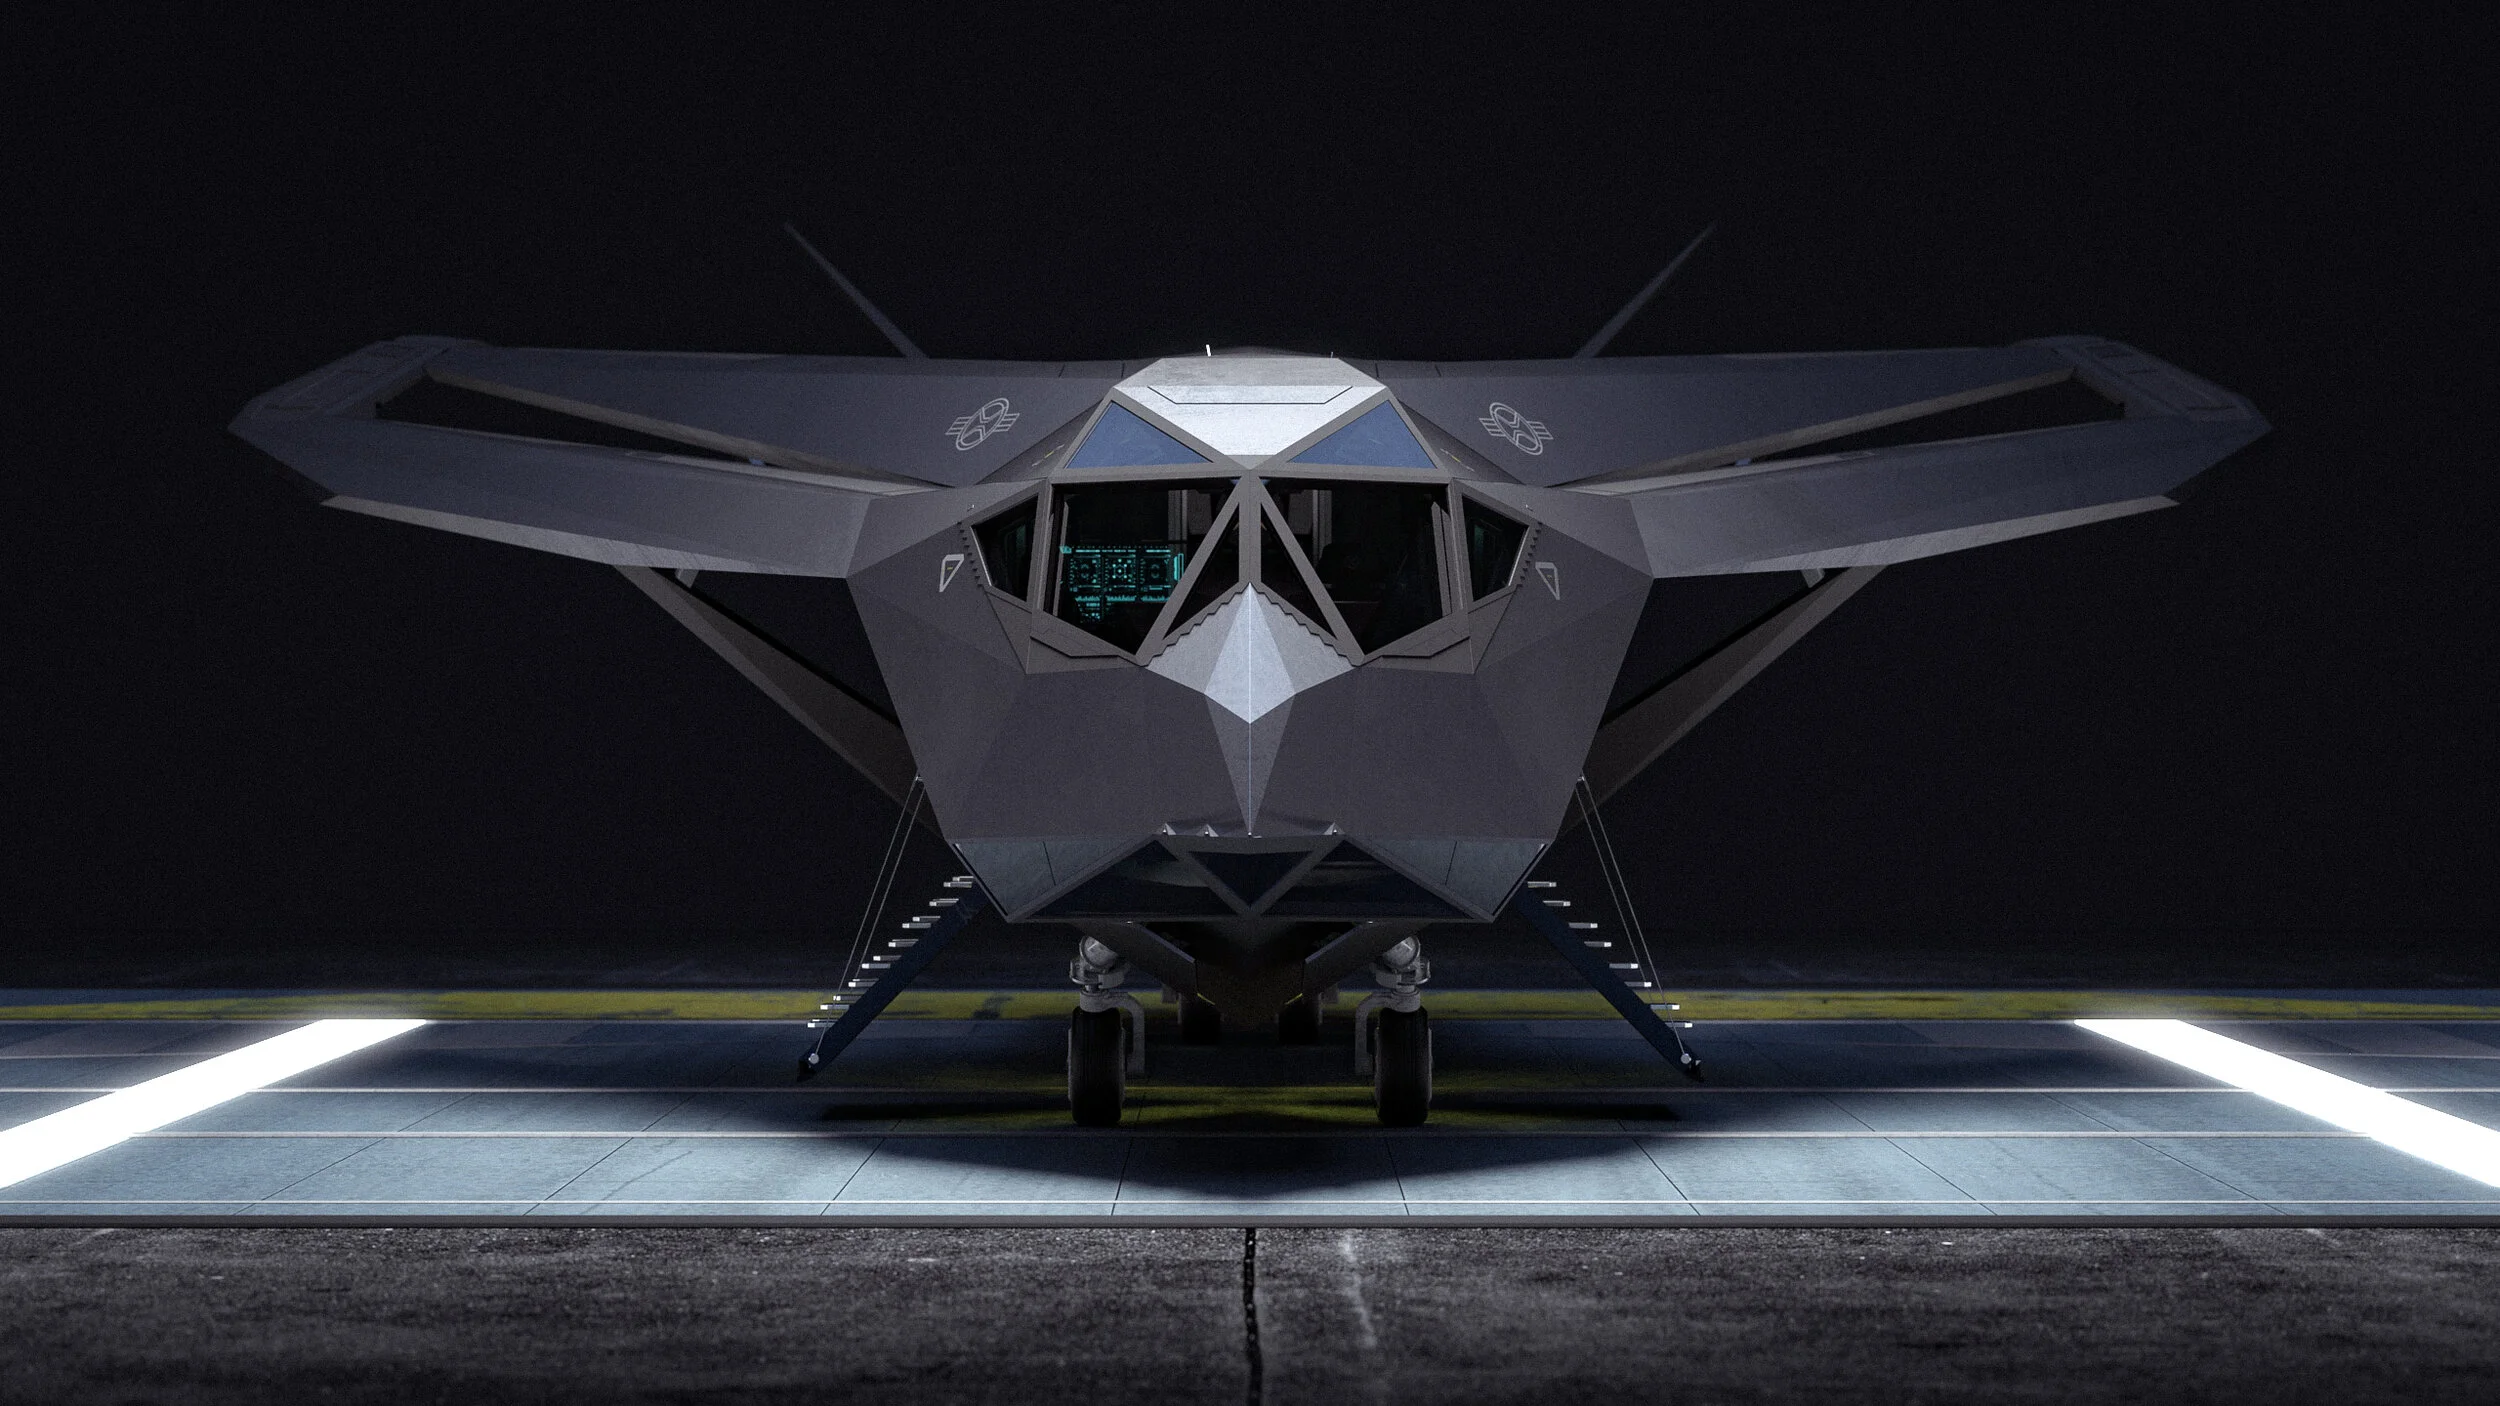
I based my X-Jet on the real-world F117 Nighthawk most notable for its faceted stealth look and prolonged secrecy from the public, it looks like something truly out of this world. In order to have the design make sense I often bring in story elements to help clarify why the X-Men would need an aircraft like this. Most obvious is the need for stealth during transport.
The material the makes up a majority of the aircraft exterior is a metallic blue / grey paint, what this allowed was during the day the aircraft would match the blue of the sky while at night it would create a darker aircraft to blend in with the night sky.
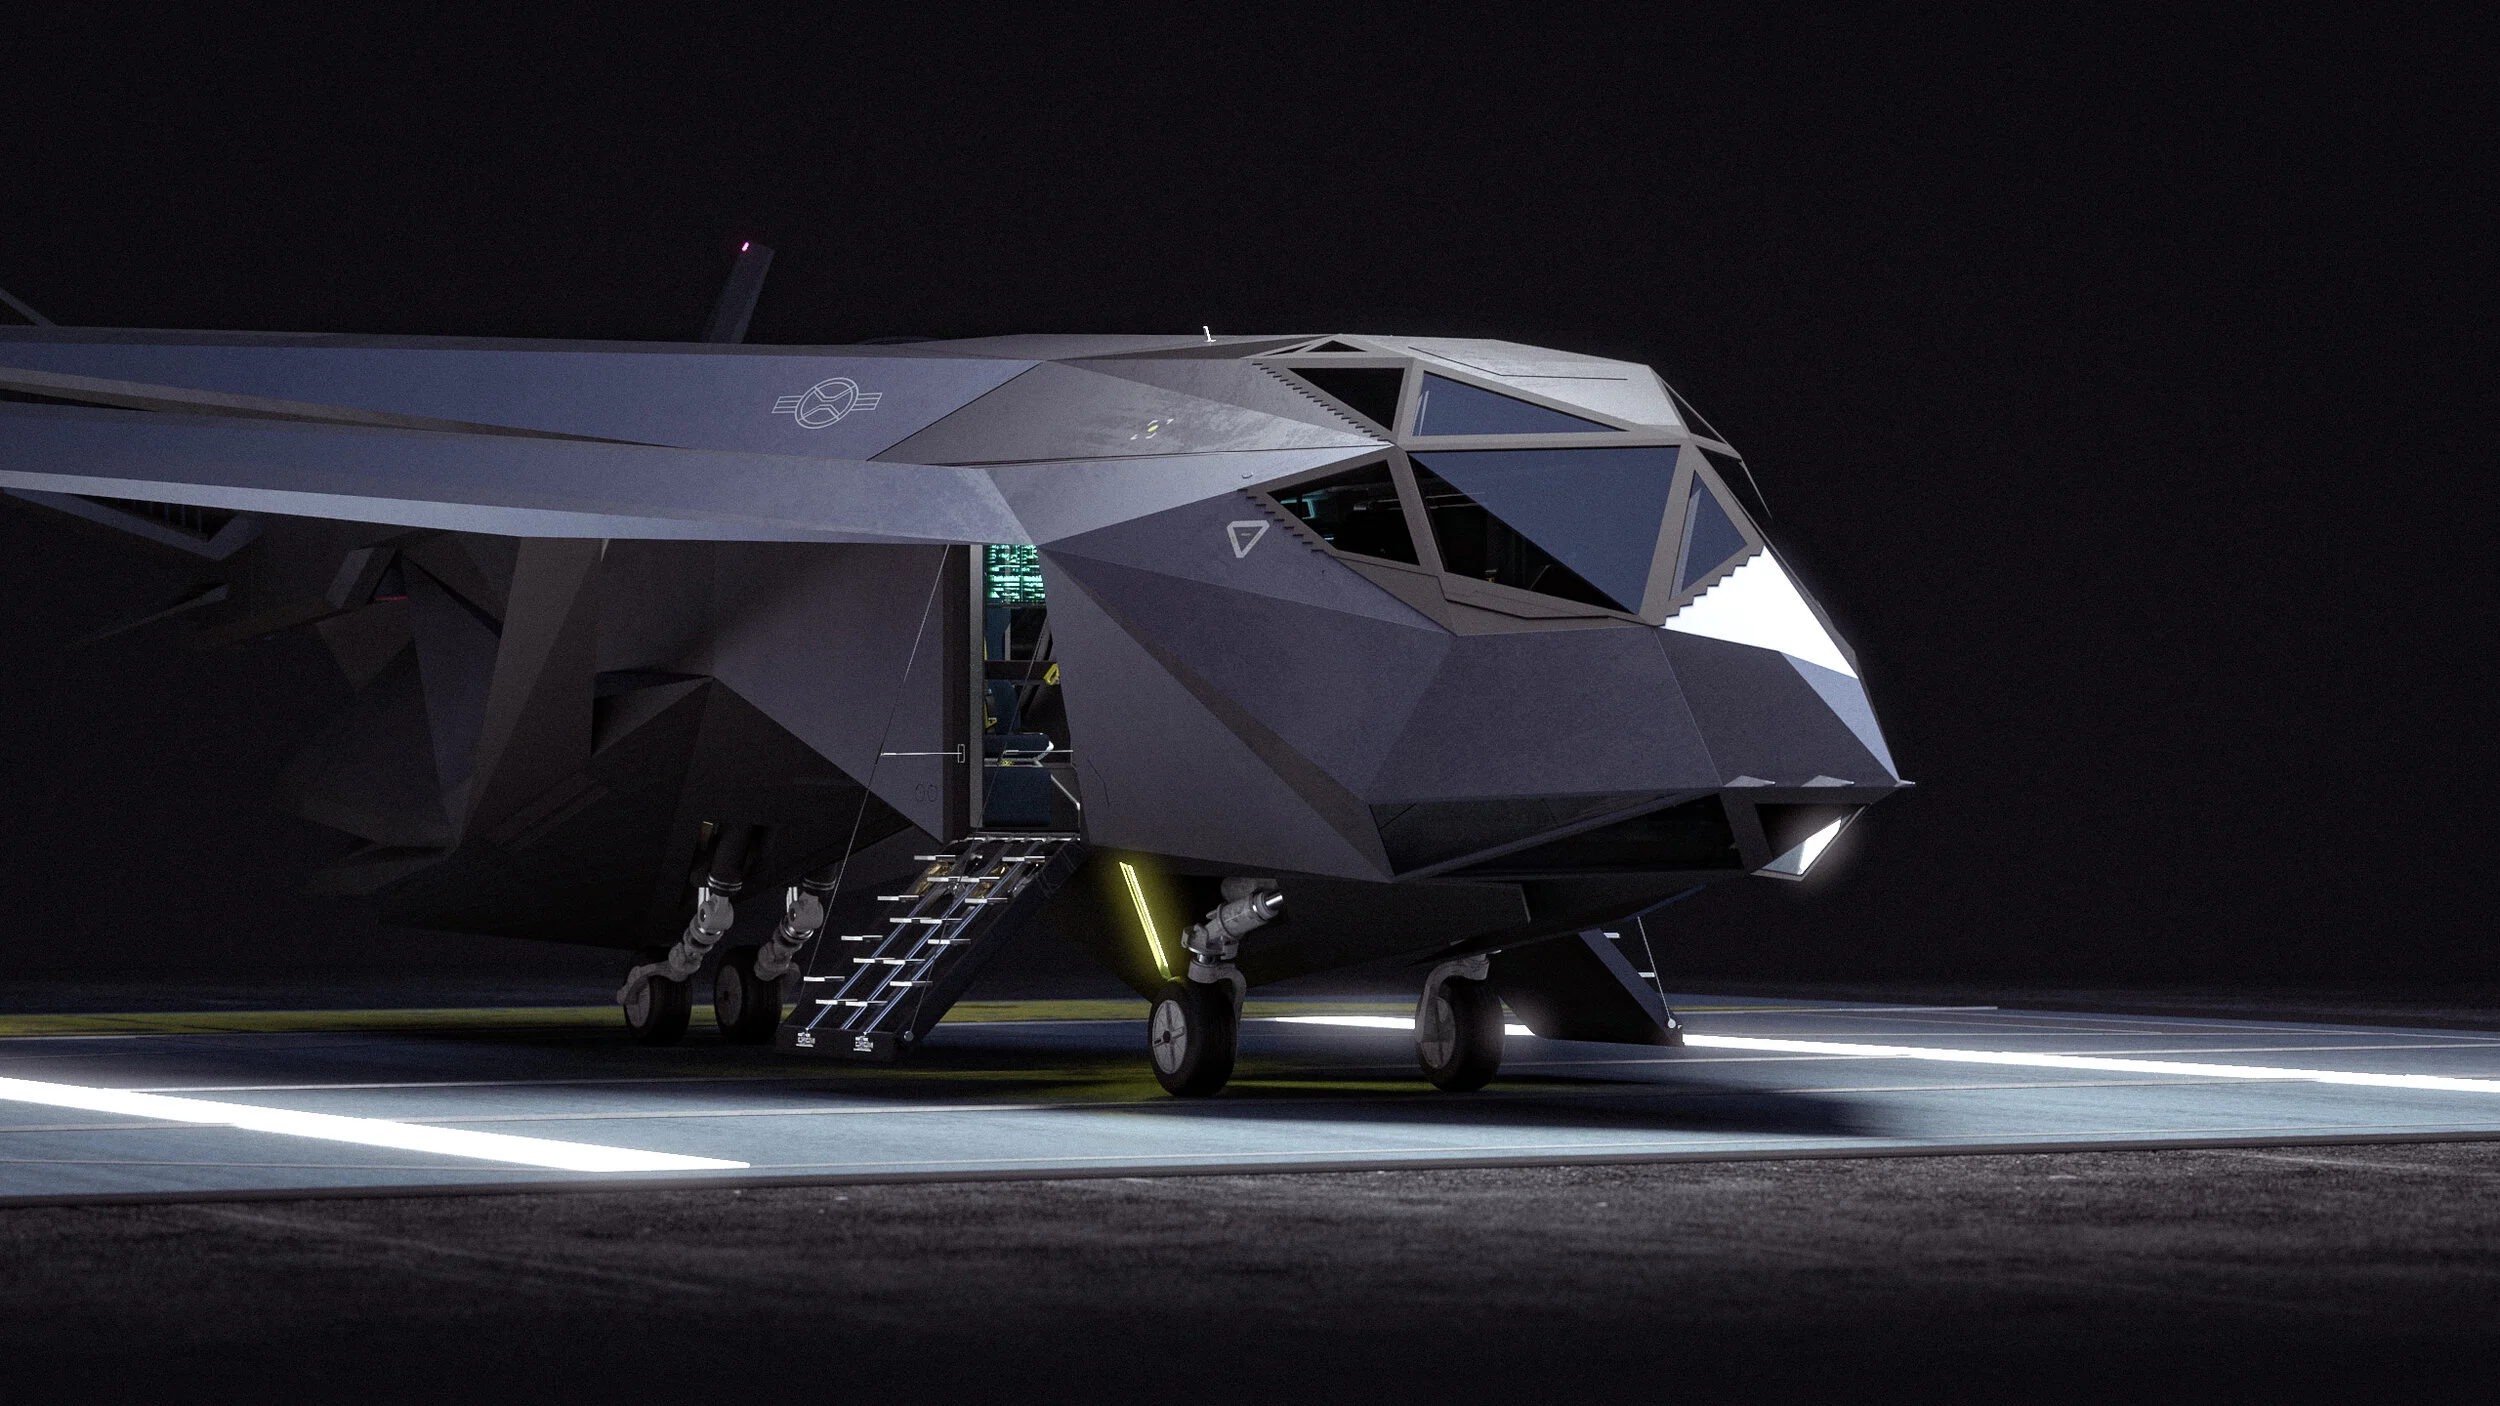
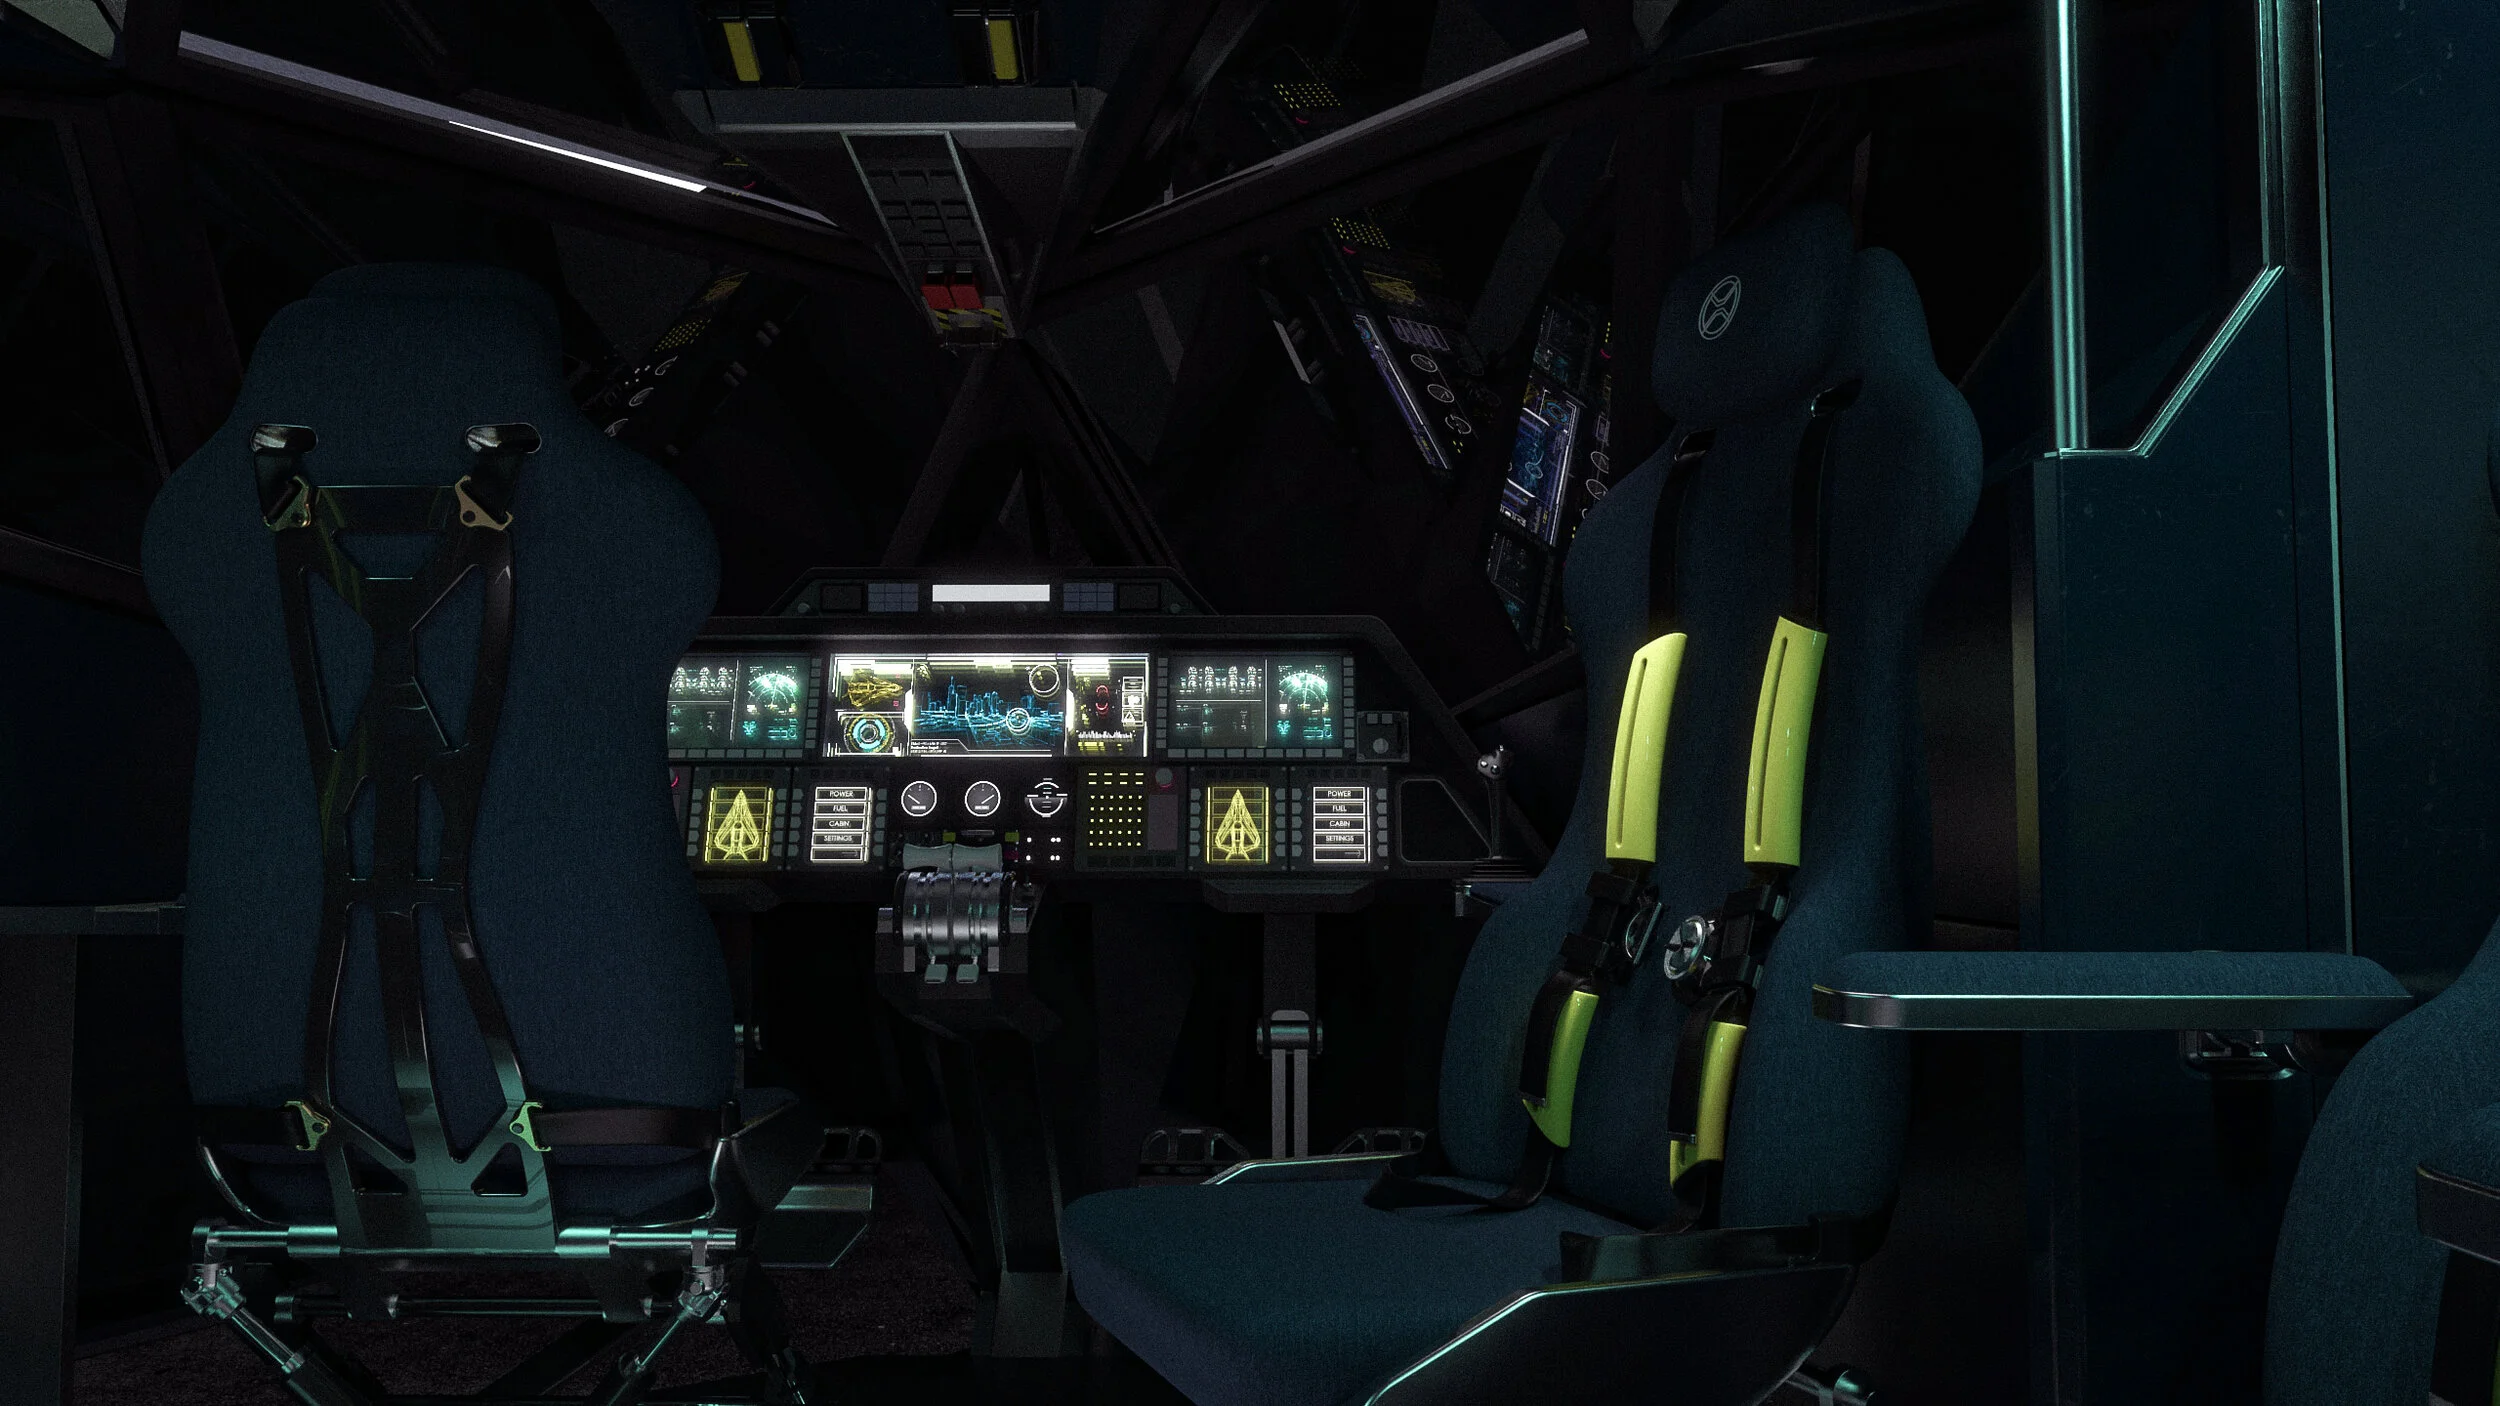
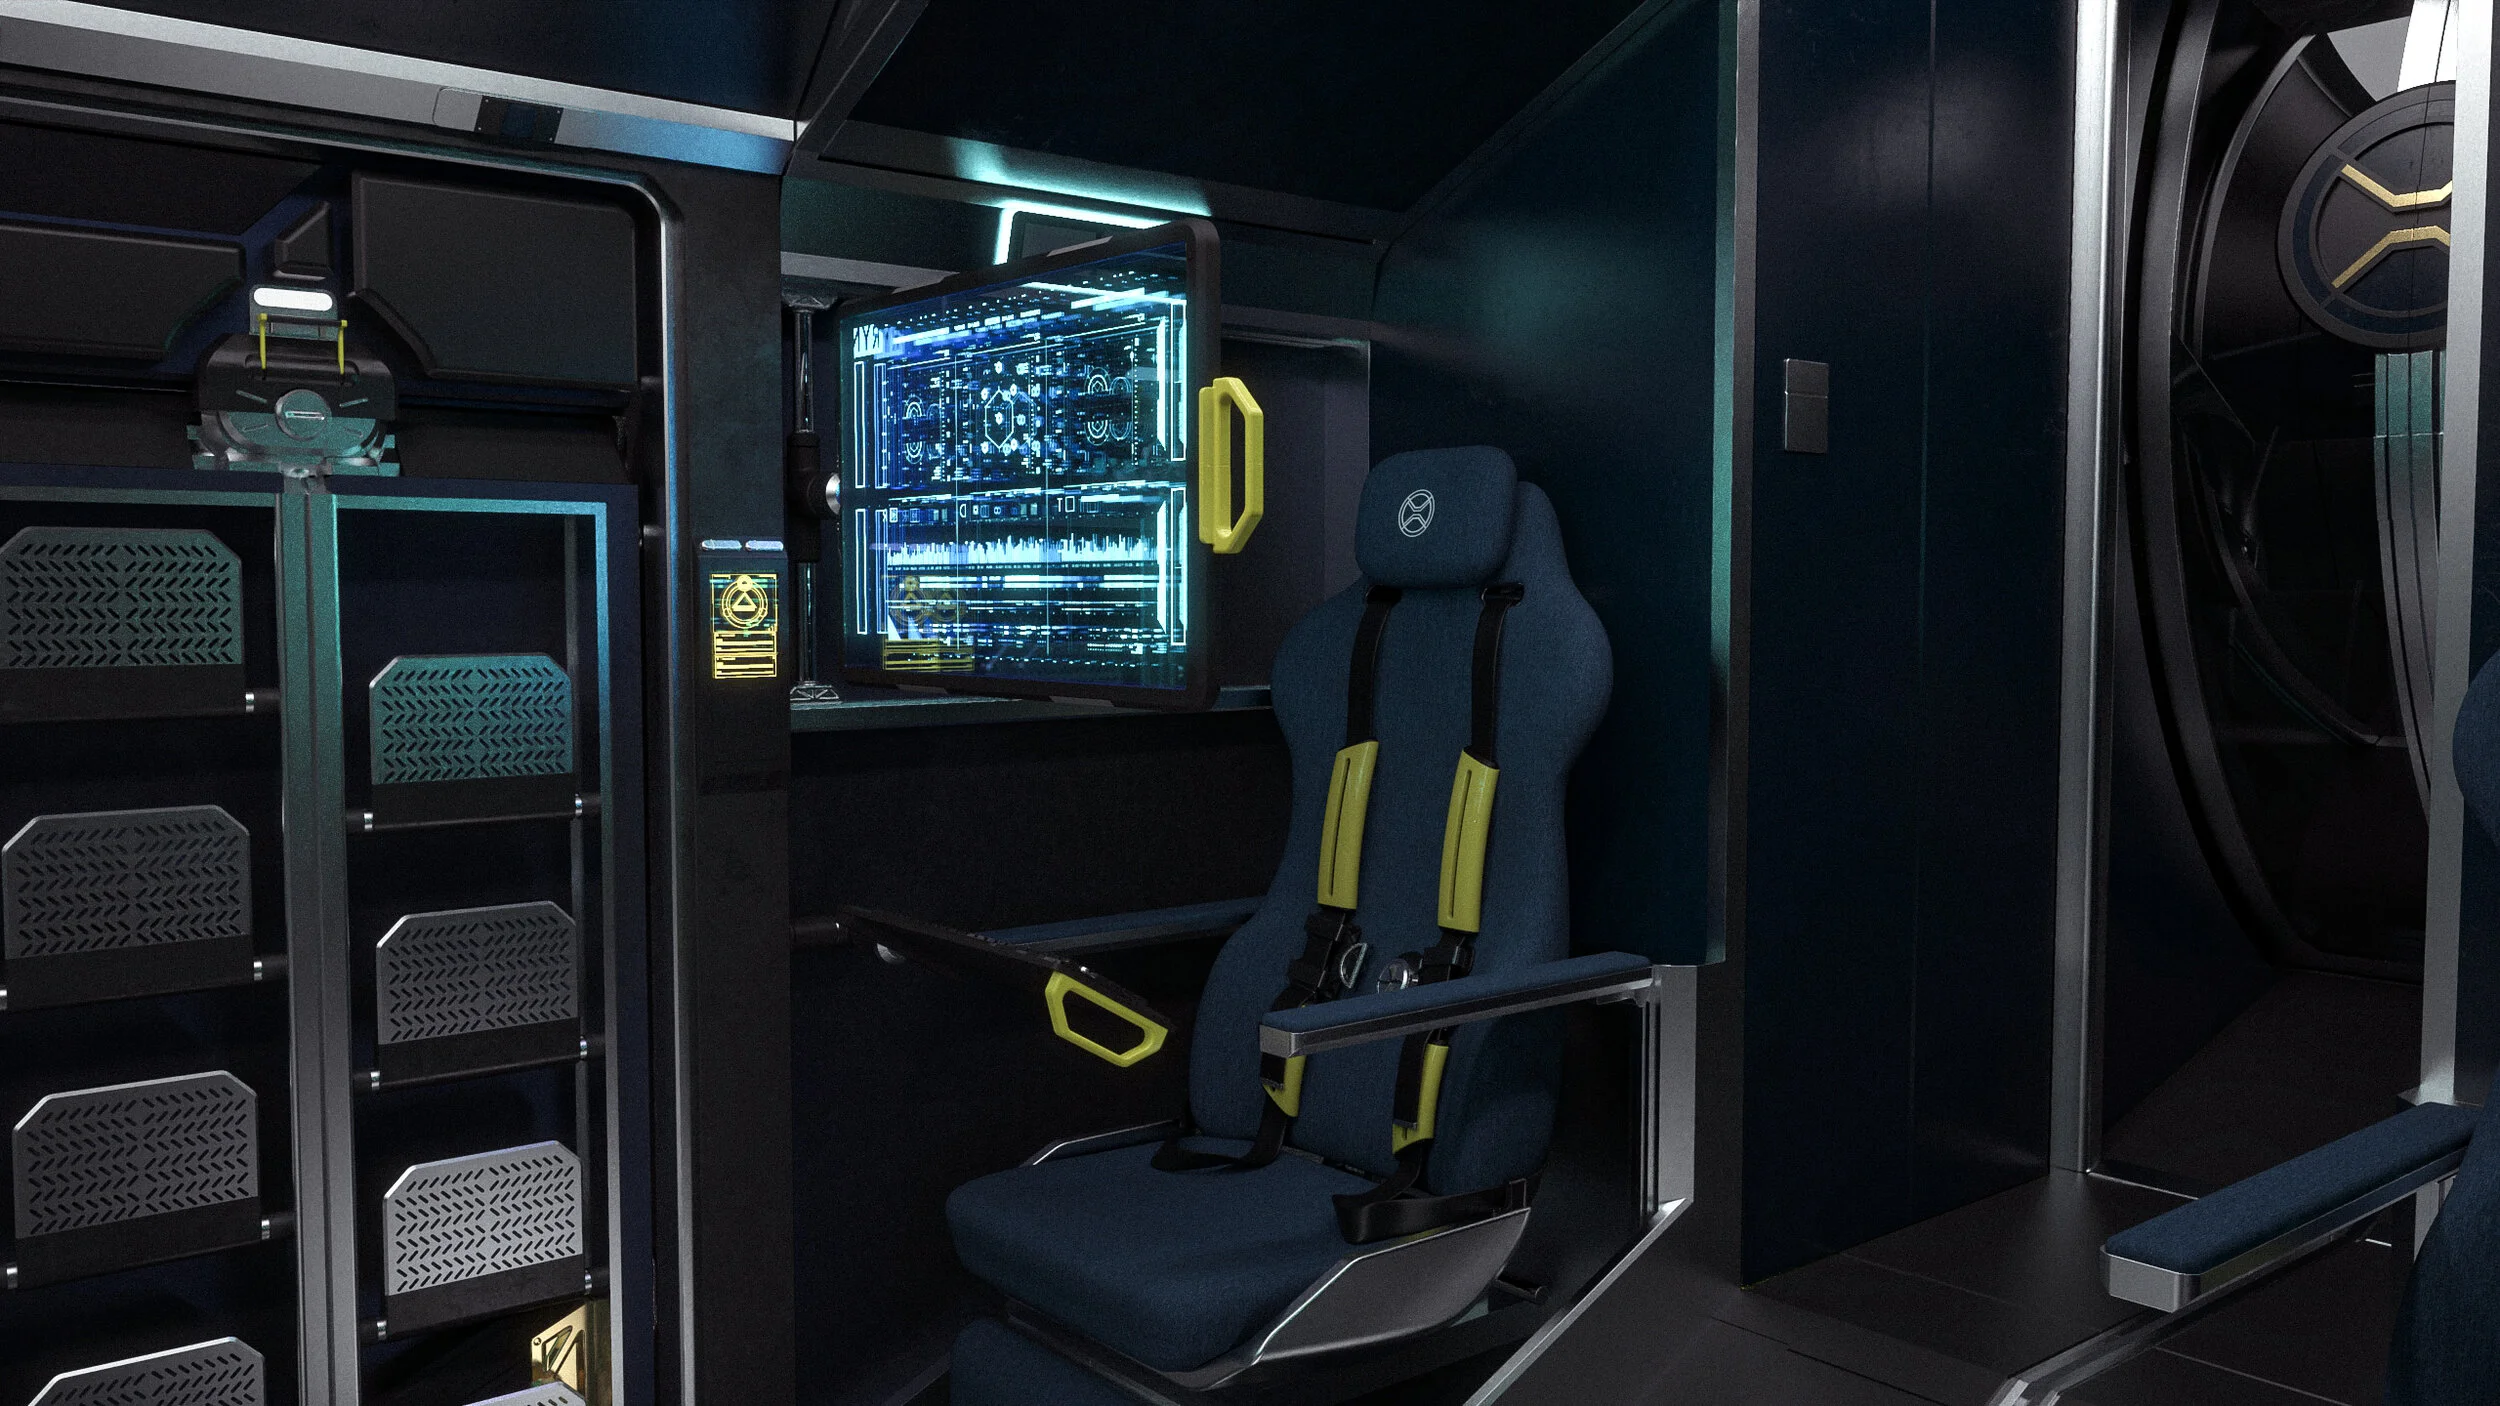
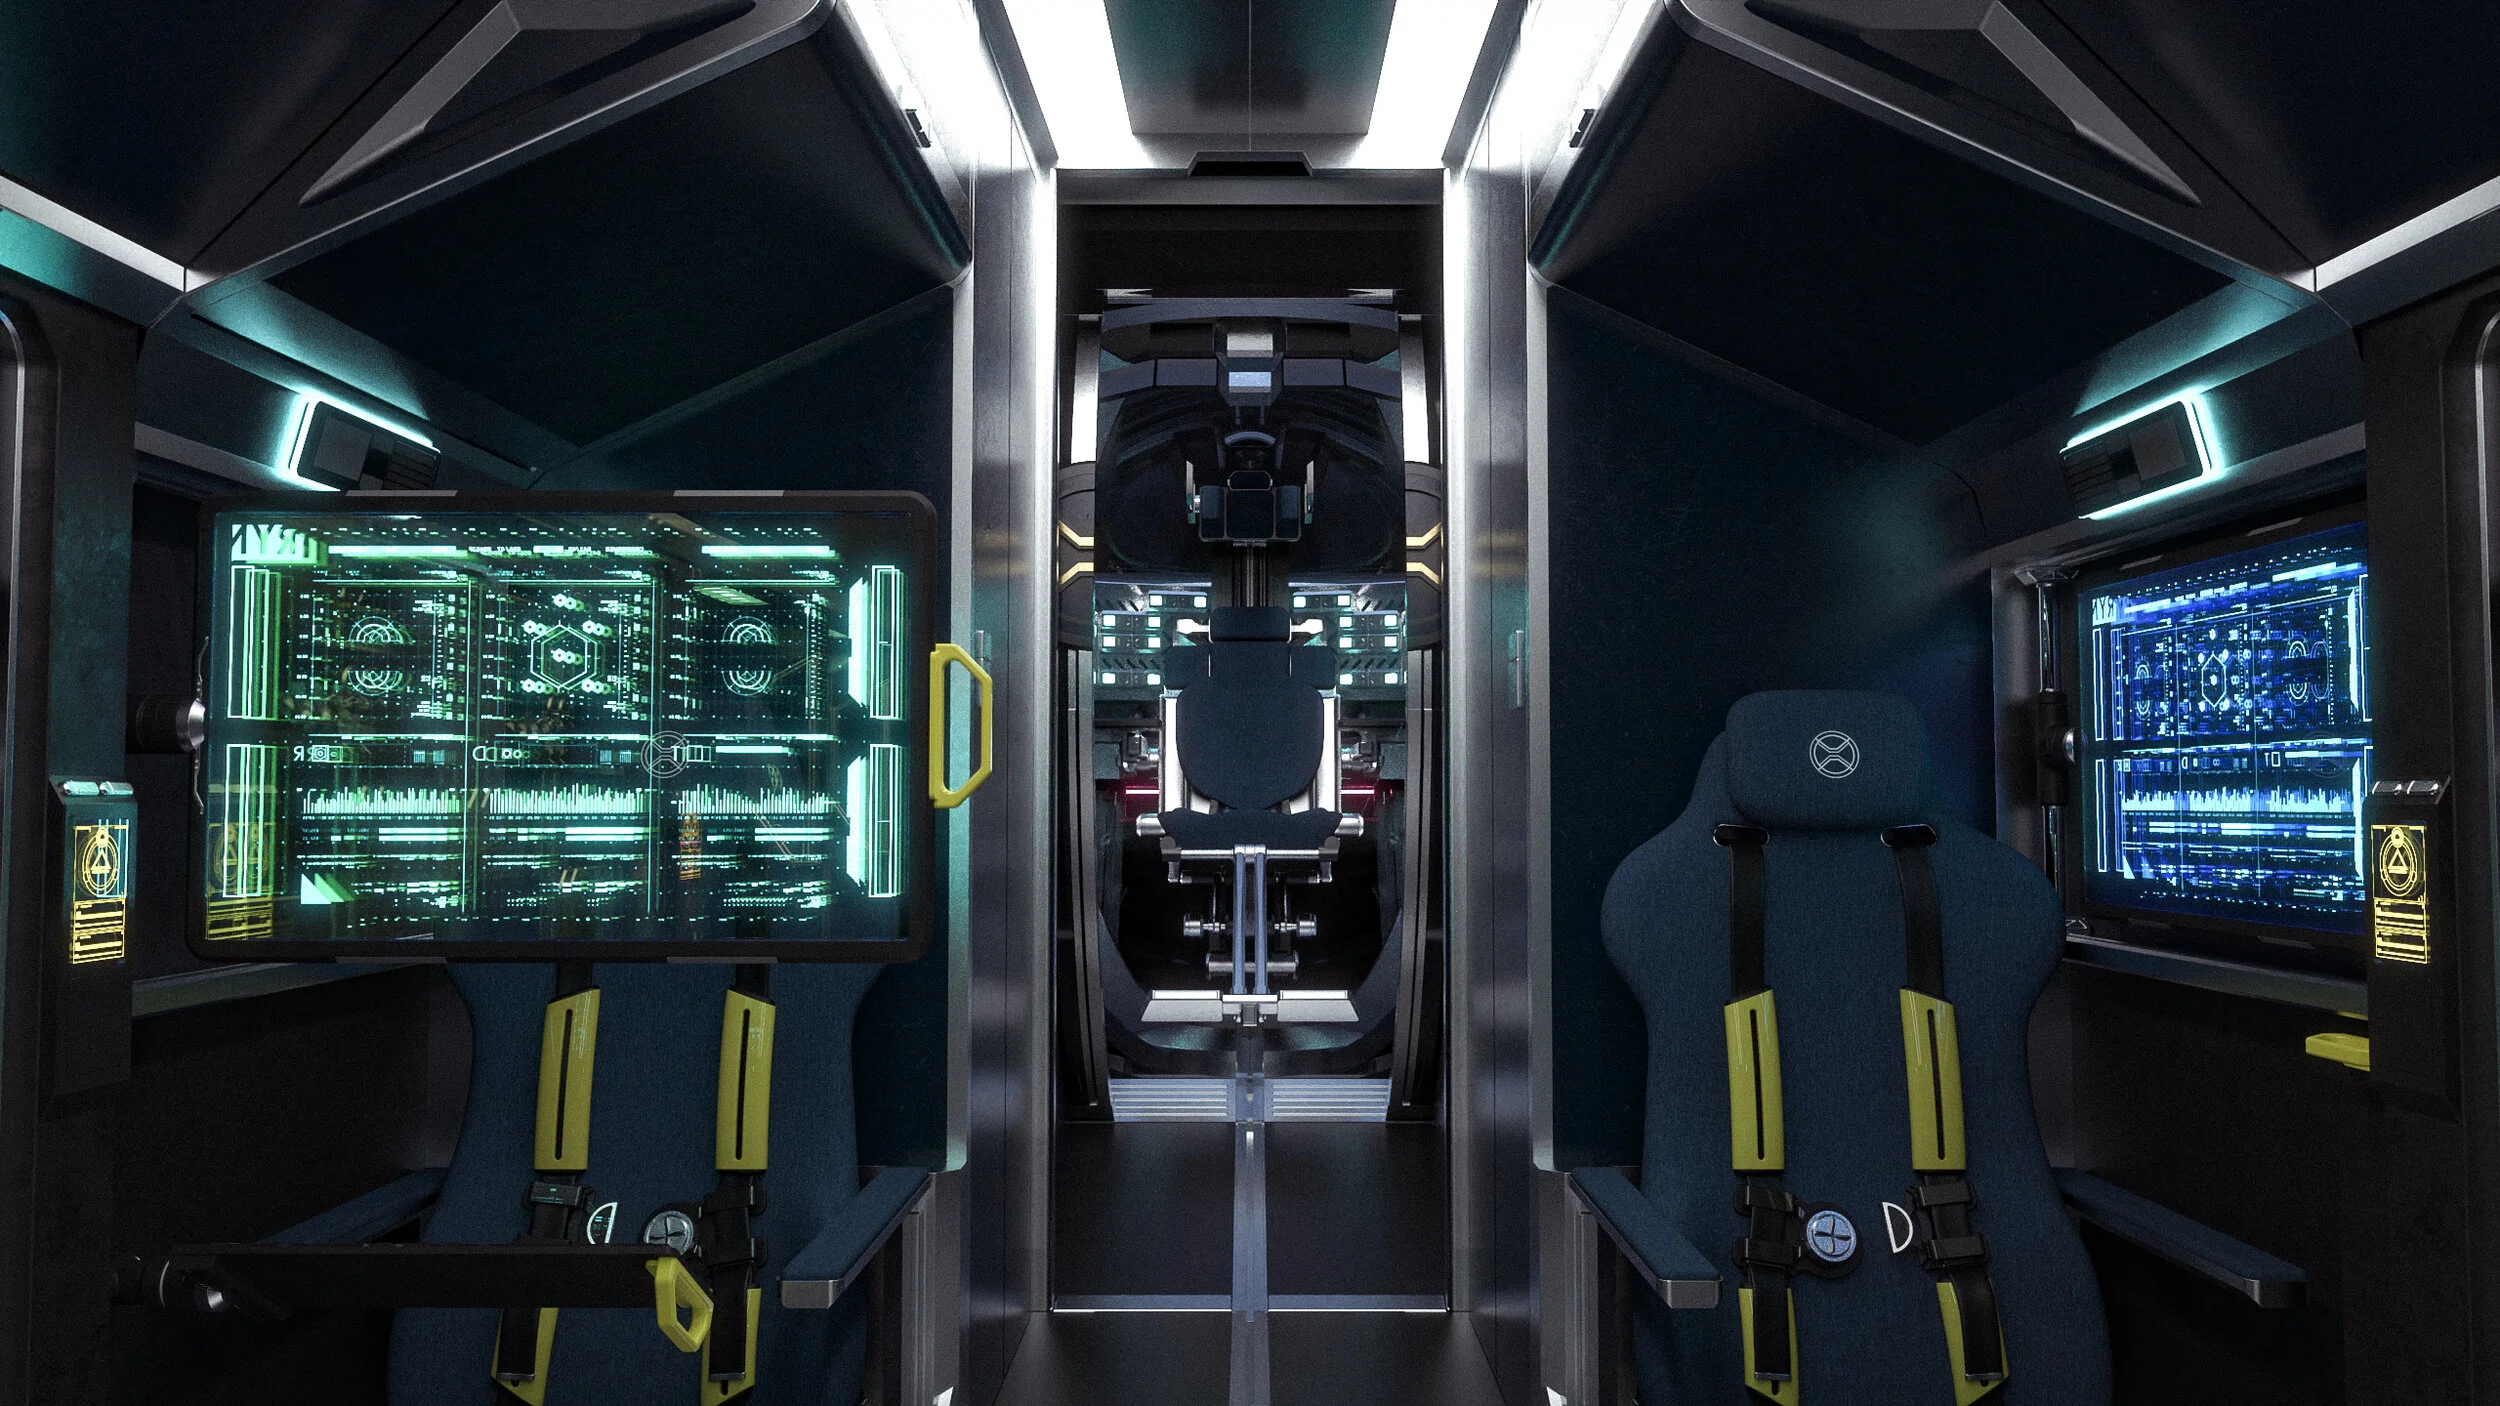
The interior of the aircraft can comfortably sit 9 people. 2 Pilots, 4 General Crew Seats, 2 Technician Seats, and 1 Cerebro Seat.

Cerebro
The Cerebro area of the aircraft was an interesting one that was inspired by a few existing designs. After reviewing the X-Men films noticed Professor X is often absent from major action pieces . My thought process was if I could make Cerebro some portable (as opposed to being house in the basement of the X-Mansion) the character could be a more integral part of the story by being able to be closer to the action. Cerebro is also gyro-stabilized meaning that no matter what direction the aircraft travels the person sitting in it is sitting upright, and having a reduced G-Force applied to them. In theory allowing Professor X to concentrate more while the aircraft was in use.
I also wanted to design something of a bigger scale than I’ve worked with in the past. Typically I do smaller pieces like props, and wardrobe elements, this project was a chance for me to get some experience designing an interior set / vehicle. It was critical to me to design both the exterior and interior as I wanted to be able to show the viewer the complete aircraft as it would be shown on film.


The Process
One of the goals of this project was to design on a bigger scale than I’ve worked with in the past. Typically I do smaller pieces like props, and wardrobe elements, this project was a chance for me to get some experience designing an interior set / vehicle. It was critical to me to design both the exterior and interior as I wanted to be able to show the viewer the complete aircraft as it would be shown on film.
The process of designing the X-Jet was unique in that this was the first time I was leveraging several software workflows in the design process. First, was the inclusion of Gravity Sketch, a 3D modeling software that works in Virtual Reality (VR). Initial Ideation was done in Gravity Sketch, what this allowed was rapid designs that enabled me to see both the interior and exterior in real scale. Often times working on a 2D screen it can be challenging to get a sense of scale and how accessible or easy to move around a design can be. With Gravity Sketch I was able to virtually sit in the Pilot’s seat and see where flight controls needed to be or how much or little my forward view was obstructed.
At this time I was also gathering reference images from a wide variety of sources. Some of my references can be seen below.
The 3D files were then exported from Gravity Sketch and brought into Fusion 360 where a majority of the project was worked on. In here I cleaned up and optimized the rough Gravity Sketch design into cleaner parts and file organization. This process took some fine tuning, and occasionally I would go back and forth between the two software to make note of necessary changes or see how changes effected things like human factors.
Towards the end of the project I began to utilize Blender’s EEVEE render engine. EEVEE is a real time render engine so it is less accurate than physically based lighting renders, but that lack of realism is made up by the pure speed of rendering. I was able to move around the aircraft and see how the design was looking cinematically. Often I would do test render animations to see what caught my eye when the camera was moving around or through the aircraft. Unfortunately due to some technical limitations on my computer hardware I was unable to do final renders and animations within EEVEE but it was a great tool to help me figure out what needed to be improved.
The final renders were done in Keyshot a physically based render software, which as opposed to EEVEE provides more accurate renders at the cost of speed. To offset the slow down in speed I was able to utilize the software’s AI Denoising which using an algorithmic process to reduce render noise and give you a faster render result. The combination of Keyshot’s AI Denoising and my Ryzen 9 3900X cpu was critical for having the speed and detail required for nearly realtime material adjustments and revisions.
Final adjustments were made in Adobe’s Lightroom to do some minor color correction and image adjustment to try to push the cinematic look of the renders.